Black Aluminum Business Cards
- Category
- Laser Projects
- Posted
- July 5, 2024
- Updated
- September 16, 2026
- By
- Jacob Lloyd — written with AI assistance, post-project
- Read time
- 3 min read
In plain terms: A step-by-step guide to making your own metal business cards with a desktop laser engraver, for about sixteen cents a card. It covers the exact machine settings, the design work, and the safety gear you need. The result is a card that stands out far more than paper ever will.
Metal business cards you engraved yourself, for about sixteen cents a card. That's the project. Fair warning: this post sat half-finished in my drafts for almost two years — the cards got made, the write-up didn't. Fixed now.
tl;dr
- Laser-engraved black aluminum business cards on an xTool F1
- Blanks ran $7.99 for 50 when I bought them — about $0.16 per card
- You need: the F1, laser safety glasses, card blanks, and xTool Creative Space (free)
- Engraving takes about 2.5 minutes per card once dialed in
There's some basic logo work in here too, so your card ends up more interesting than a name and a phone number in Arial.
Tools
- xTool F1 — desktop laser engraver with a 10 watt blue diode laser and a 2 watt infrared laser
- Laser safety glasses rated for your machine's wavelengths — not optional, see below
Material
- Blank black anodized aluminum business cards, 86 × 54 × 0.21 mm — $7.99 for a pack of 50, so about $0.16 each
Software
- xTool Creative Space — free, and it's what drives the F1
Safety disclaimer
My laser engraver is, literally, the most dangerous tool I've used. It uses light to disintegrate or scorch material. I've caught things on fire, generated probably-toxic fumes, and almost blinded myself (I was seriously seeing spots for a while). Lasers are not like normal tools — use extreme caution, and understand that you assume responsibility for your own safety and equipment. Please review the safety training for your machine before you start.
Design your card
Start by designing your card layout. For this project I did two: a basic card (less is more), and a fancier one with graphics to show a few techniques for jazzing your stuff up.
I sketch my ideas out before opening any design software — it forces you to figure out what you're actually making. Here's the concept art:
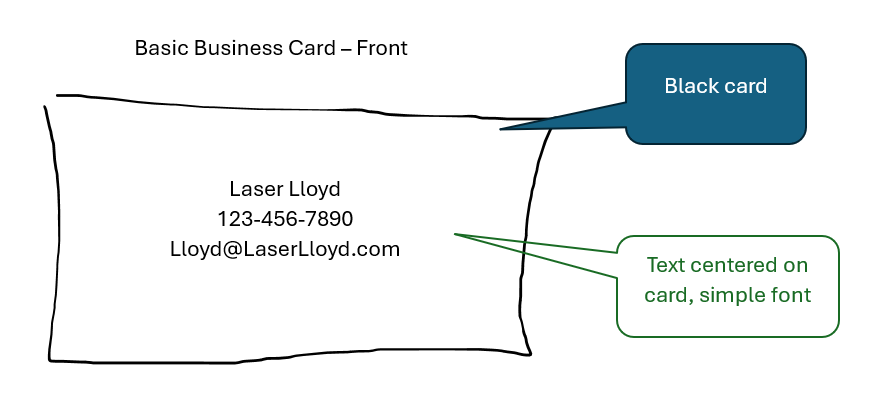
That's the card I'd actually hand out. The fancy version layers the text over a background image and swaps in a tech-looking font:
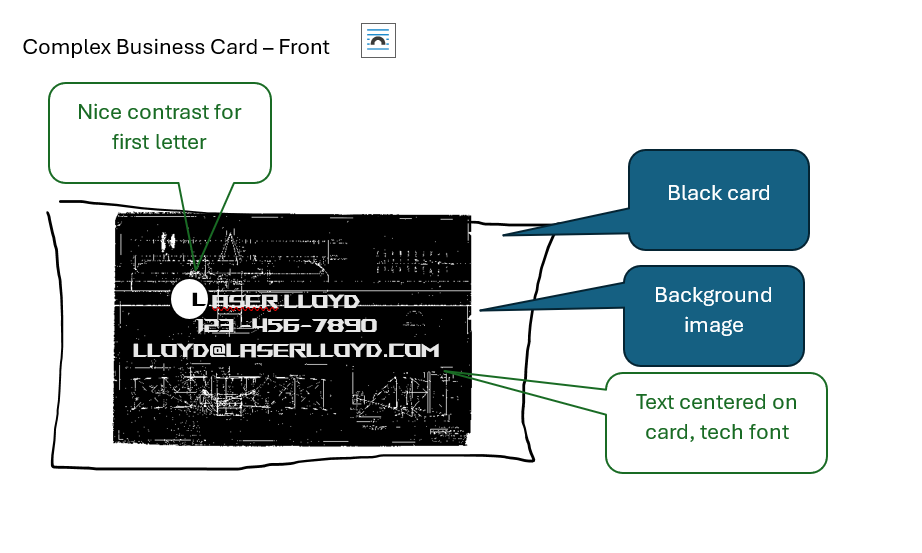
The background is the original 1903 Wright Flyer drawing, from Wikimedia Commons. The back of the fancy card gets a shark:

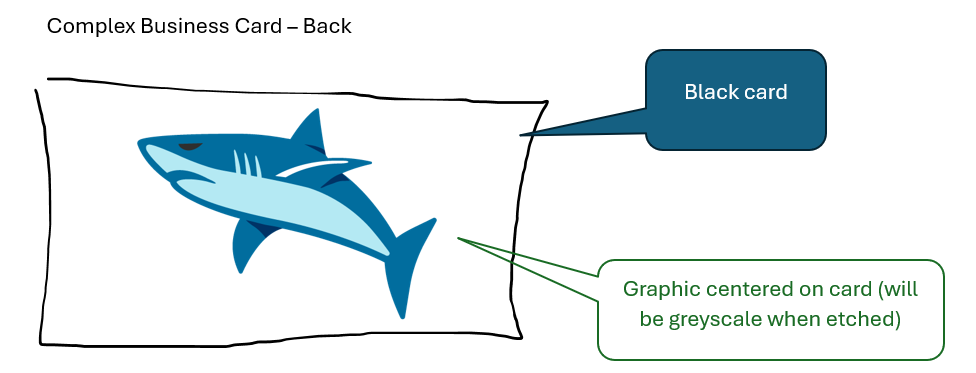
The shark is Google's shark emoji — Emojipedia has every vendor's take on it, and the direct PNG is here. Anything with decent contrast will engrave fine in greyscale.

Input to laser software
Import each design into xTool Creative Space as an image, size it to the card (86 × 54 mm), and run one design at a time.
The trick with these black cards is a two-layer job where both layers are the same artwork: a blue-light layer on top and an IR layer underneath. Set the processing order to run by layer, top to bottom, so the blue-light pass finishes before the IR pass starts.
Honesty time: I didn't write the settings down when I first ran these cards. I did write them down when I reused the same blanks for the Man Card project, so here's what works on this material with the F1:
- Layer 1 — blue light: dot duration 160, power 30, DPI 280, 1 pass, bitmap mode Jarvis, bi-directional engraving
- Layer 2 — IR: dot duration 300, power 85, DPI 350, 1 pass, bitmap mode Jarvis, bi-directional engraving
Blanks vary between brands and batches, and the anodized coating is doing a lot of the work here. Frame the job first so the artwork lands square on the card, then burn a test on a spare before committing to your whole stack — at sixteen cents a card, sacrificing one to the settings gods is cheap tuition.
Once dialed in, a card takes about two and a half minutes to engrave. The Man Card post covers these same blanks in more depth (plus a walnut holder to park them in) if you want the full production numbers, and I keep every setting I've actually recorded across projects — including this one — on the material settings and calibration page. If you'd rather display a card than hand it out, the nametag placard and business-card holder is built to clip around one of these blanks. More laser projects are in the lasers section.
Related: Man Card: 5 AI Designs Engraved on Aluminum (xTool F1), Material Settings and Calibration, Nametag Placard + Business Card Holder, Wood Engraving: Fire Bear.