Man Card: 5 AI Designs Engraved on Aluminum (xTool F1)
- Category
- Laser Projects
- Posted
- March 28, 2025
- Updated
- September 16, 2026
- By
- Jacob Lloyd — written with AI assistance, post-project
- Read time
- 5 min read
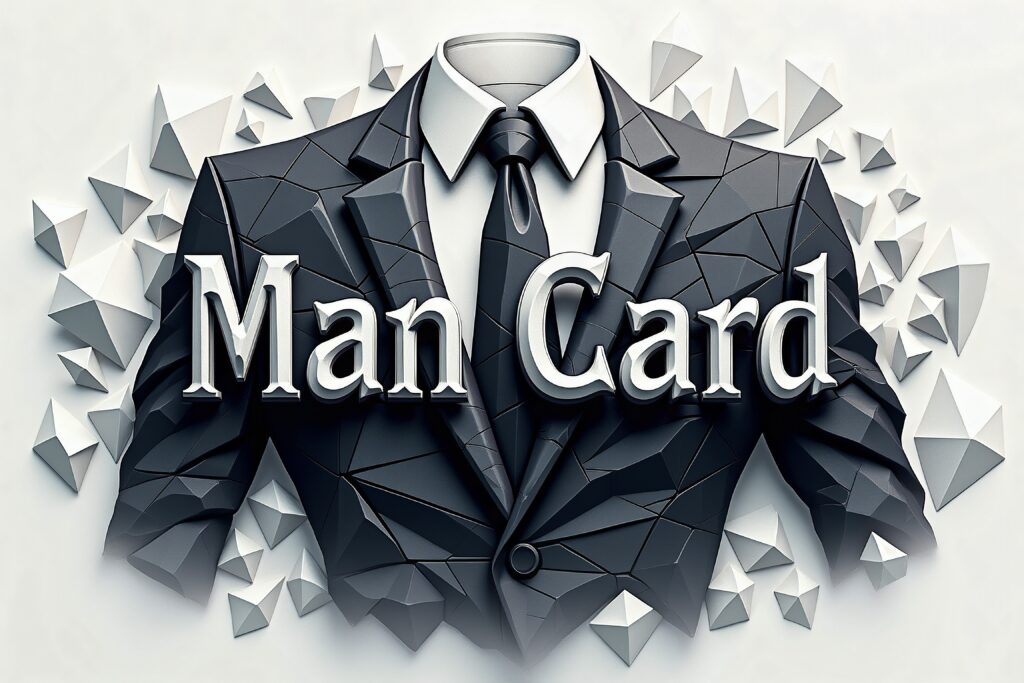
In plain terms: A fun weekend project: engraving a joke "Man Card" gift onto a metal business card with a desktop laser. It includes five ready-made AI-generated designs and the exact machine settings that worked. Total material cost was about 32 cents for a gift that gets a guaranteed laugh.
This one is a gag gift that came out looking better than it had any right to: a "Man Card" engraved on an aluminum business card. Hand it to someone when they earn it. Confiscate it when they don't.
- What it is: a metal Man Card engraved on an aluminum business card blank.
- What it costs: about $0.32 in material for the two cards I made.
- What you need: an xTool F1 (blue + IR laser), xTool Creative Space, and a graphic — I generated mine with AI.
- Time: 37 minutes total, and 20 of that was fiddling with the design.
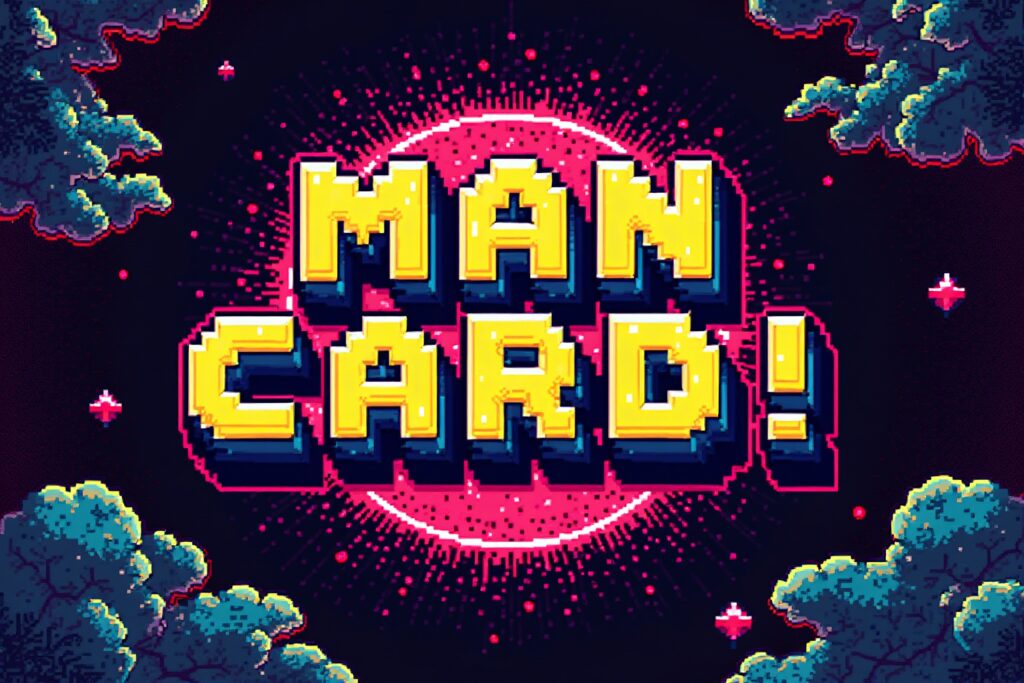
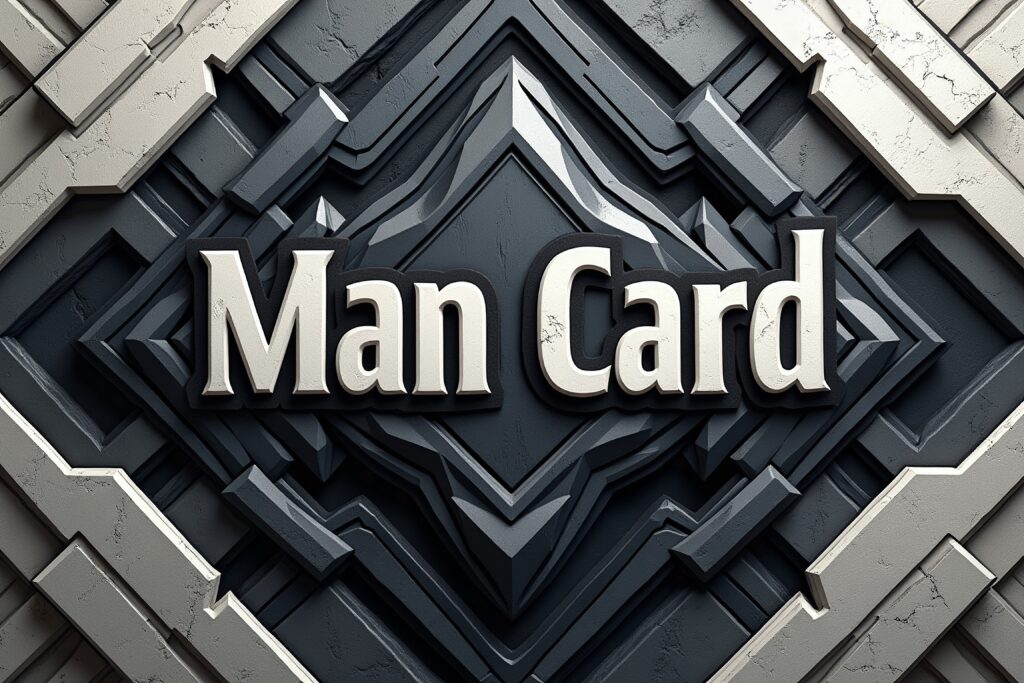
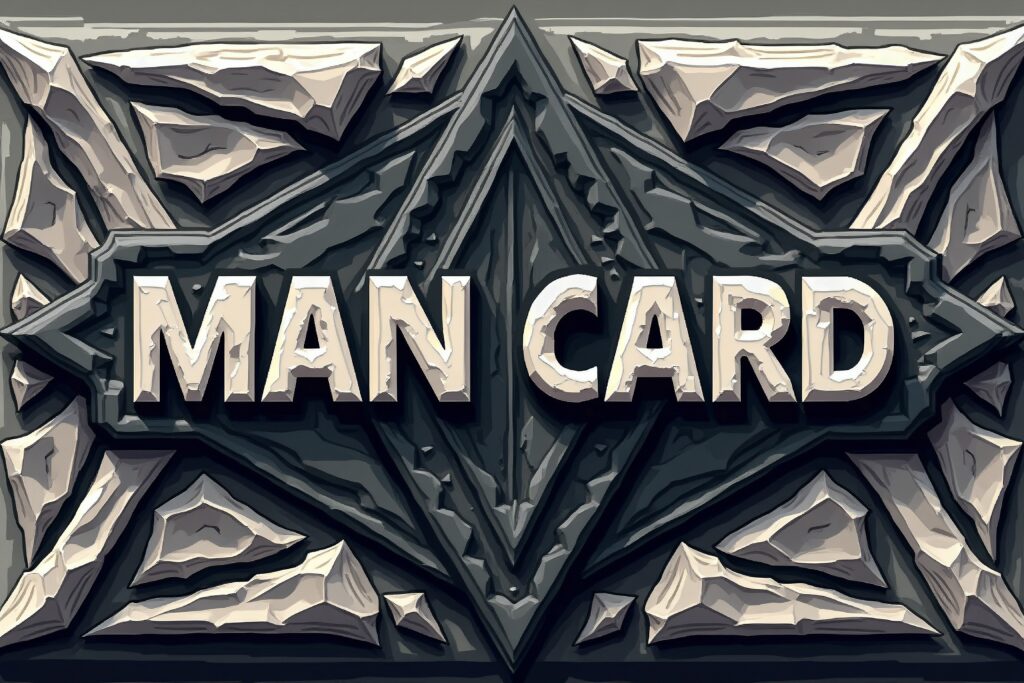
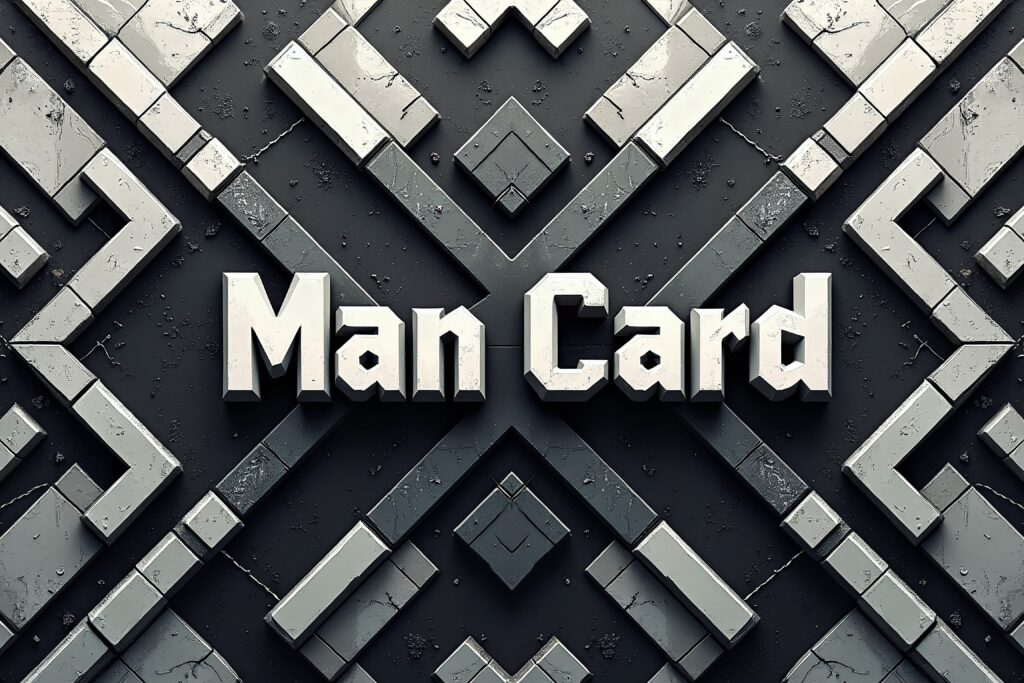
About the title: the "5 options" are five AI-generated graphics, all shared below. I only engraved two cards — one black, one blue. The other three designs are sitting right there if you want them.
Tools
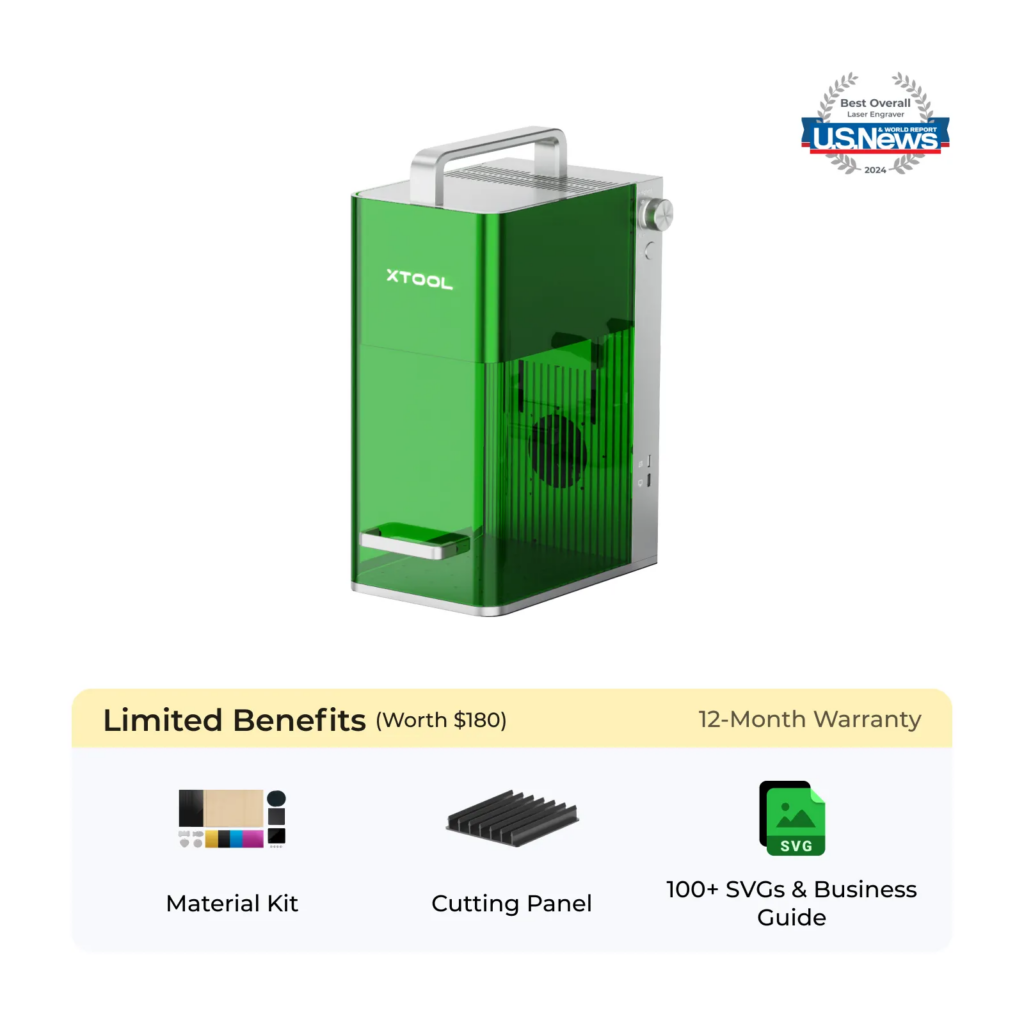
xTool F1 — 10 W blue diode laser plus 2 W infrared in one head. It's the machine behind every metal-card project on this site, including my black aluminum business cards.
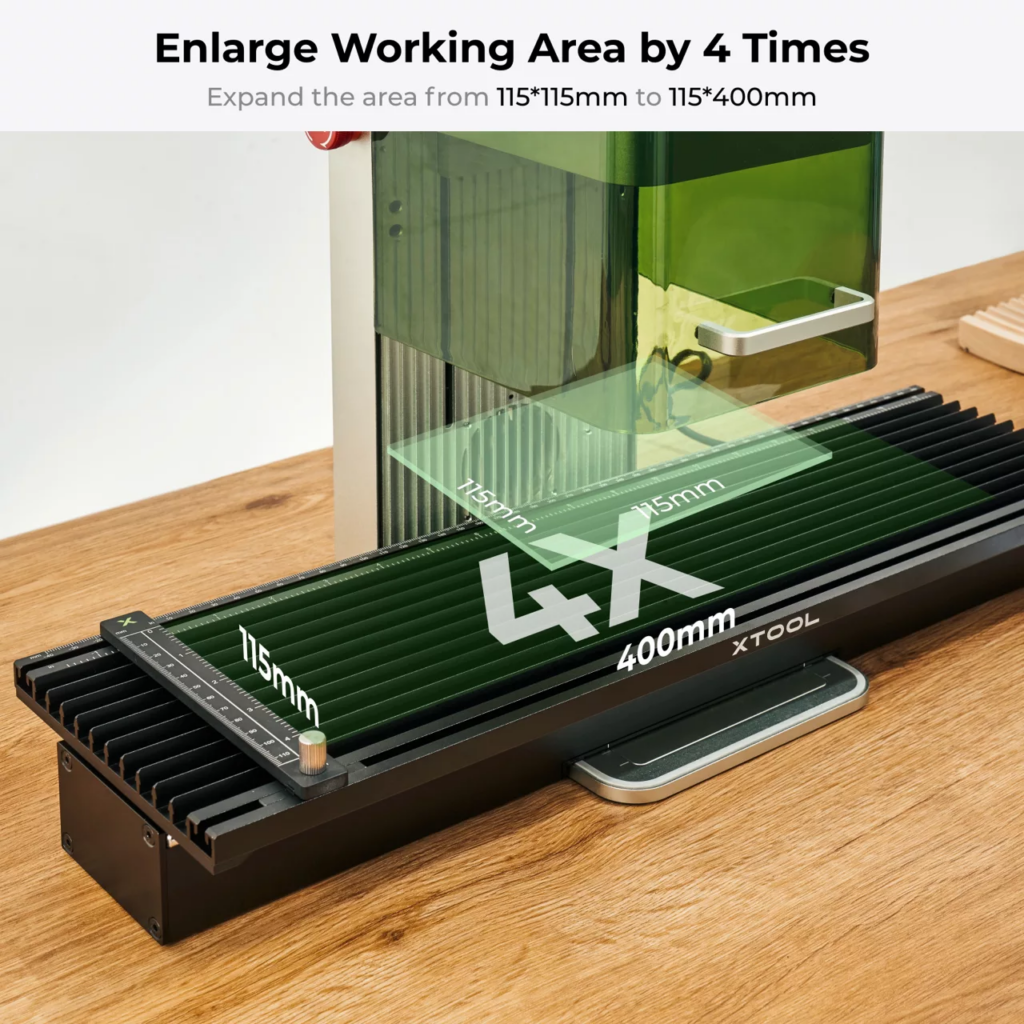
xTool F1 slide extension — optional. Stretches the working area so you can run a row of cards instead of one at a time.
Material
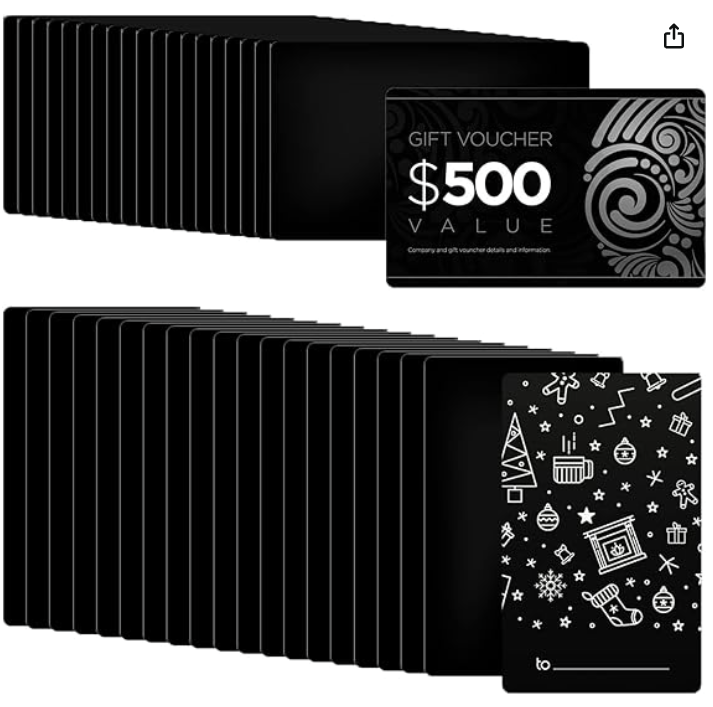
Black aluminum business cards — the ones I used:
- 0.21 mm thick
- $7.99 for 50 cards; one card per Man Card
- $0.16 per card
Alternative materials
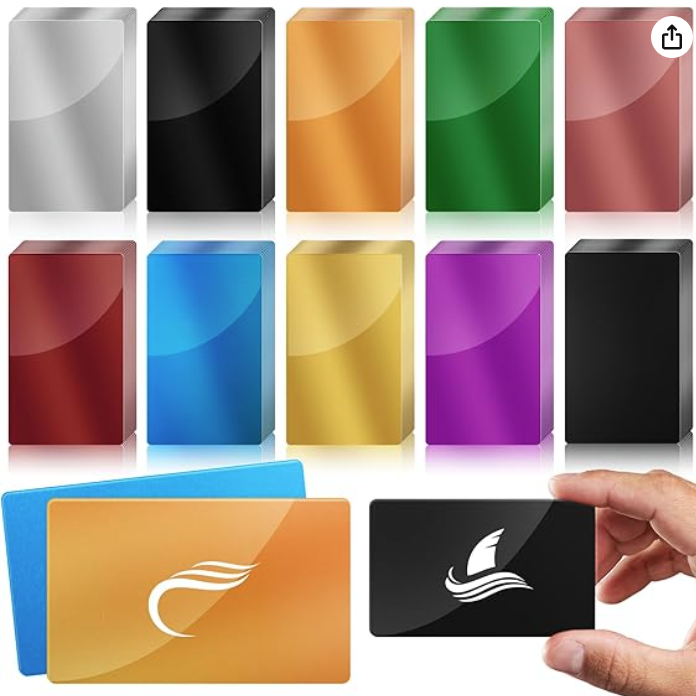
Multi-color aluminum cards:
- 0.21 mm thick
- I haven't bought these myself, but they look like they'd work
- $11.99 for 100 cards — about $0.12 per card
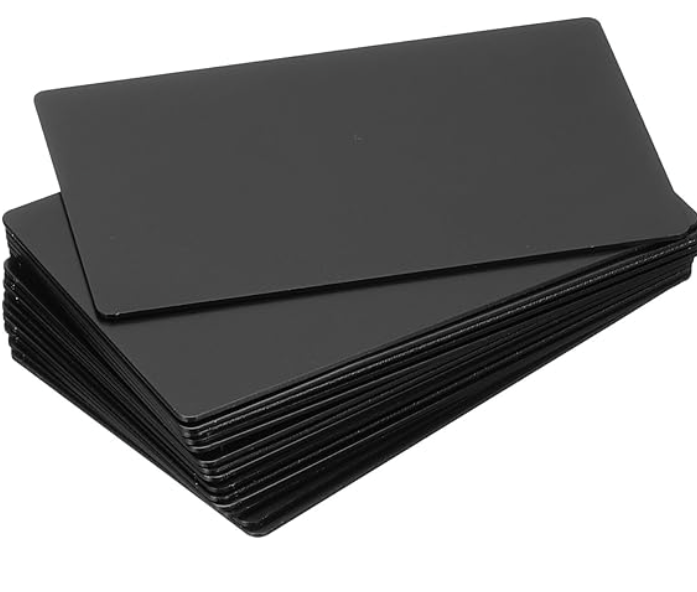
Thick aluminum cards:
- 1 mm thick
- These I have bought. They're legit: good weight, wears well, though a little thicker than a credit card
- $19.59 for 15 — about $1.31 per card
Software
- Laser setup: xTool Creative Space (XCS)
- Image generation (optional): getimg.ai — or whatever generator you like
Making the graphic
Already have a graphic? Skip to the XCS setup below. I can't draw, so I generated mine with Stable Diffusion on getimg.ai. Not sponsored, not affiliated — it's just what I use.
How I generate the art (click to expand)
- Log into your generator of choice and open the generation page.
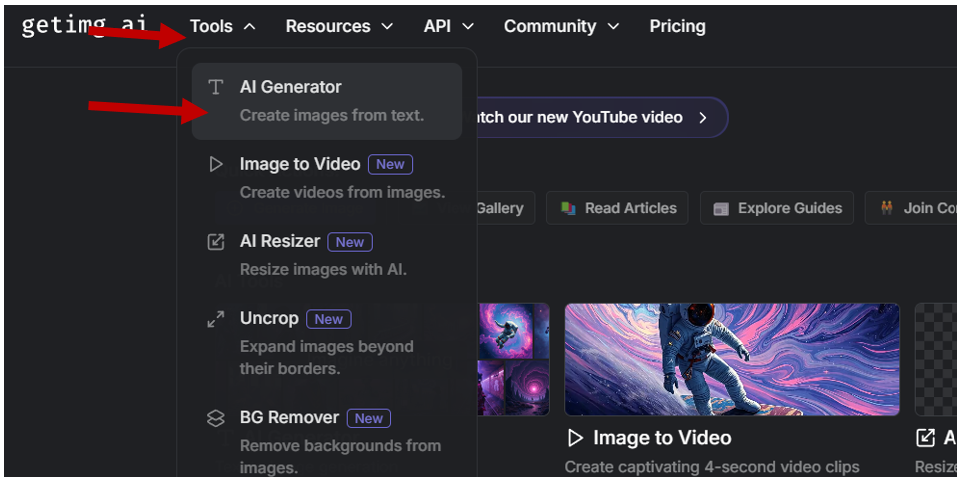
- Describe what you want an image of. Here's the prompt I landed on after about a dozen refinements:
Change whatever you want in there — it's your card.
Mode: Text to Image
Generation type: SD (Stable Diffusion)
Prompt: digital illustration logo with ((many geometric details that appear the longer you look at the card)) featuring "Man Card!" in 8-bit pixel text, surrounded by interlocking low-poly geometric shapes in sharp grey, black, and white, very detailed and intricate design angular lines forming abstract high-impact suit pattern, faceted 3D-like relief, minimal background, retro pixel art with clean hard edges, 8K sharp details.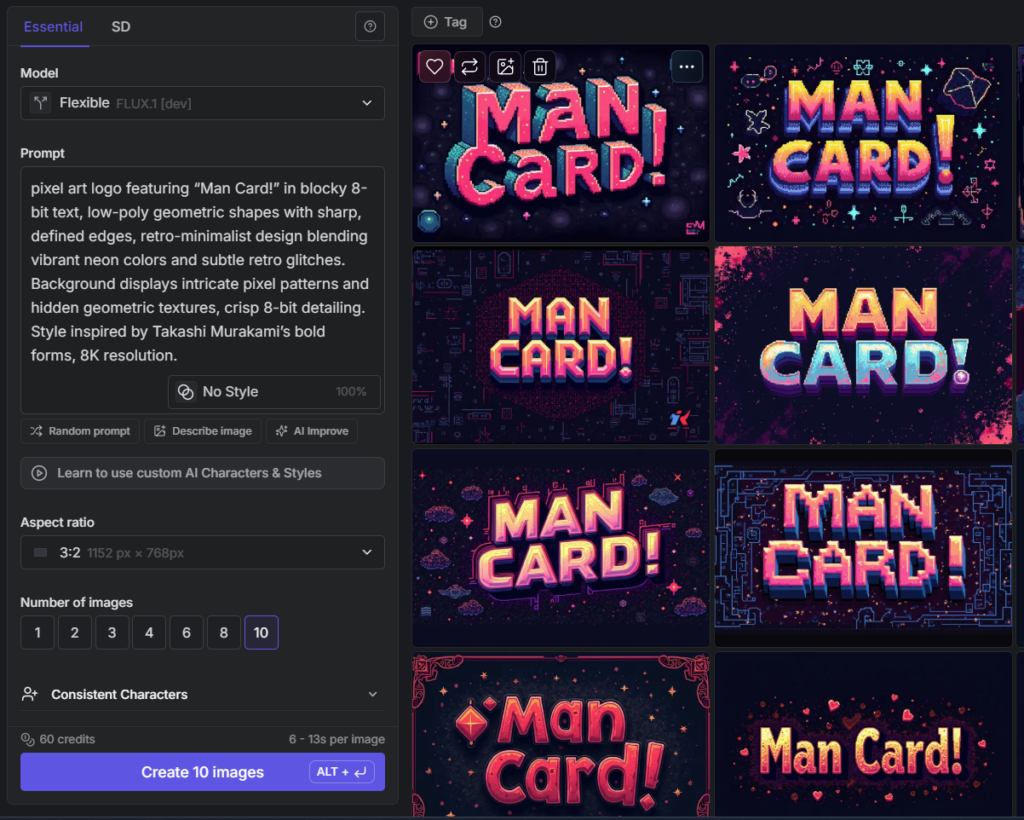
- Generate and iterate until you're happy with the result. For me that typically means about 100 images per design I actually keep.
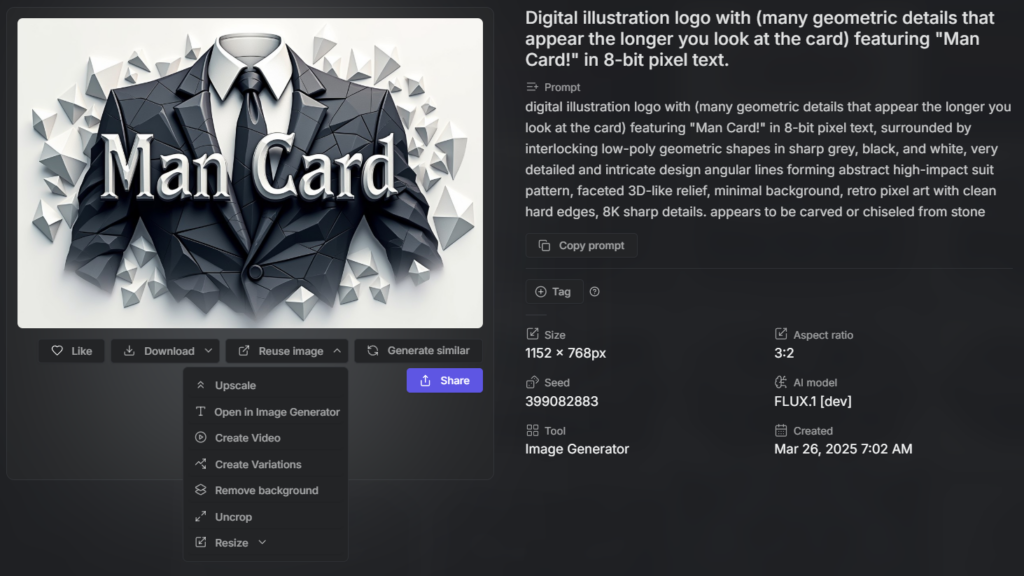
- Upscale, then download. Upscaling before use sharpens the details and makes manipulations like tracing come out cleaner. In getimg.ai: hover over the image, click the three dots that come up, pick "Upscale 4x", then download the result (format doesn't matter). If your tool can't upscale, just download — it'll still work.
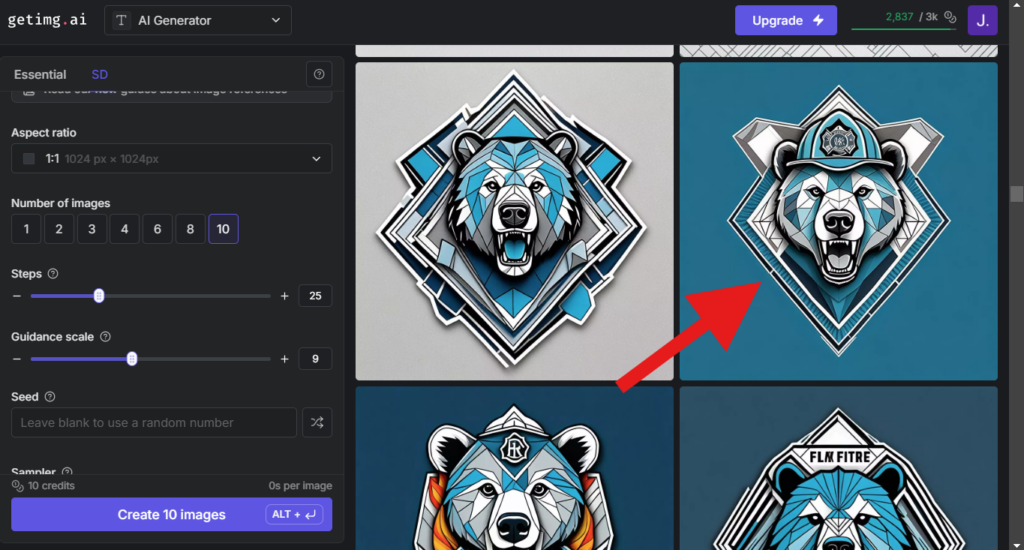
Step outcome: an image in your downloads folder that you want on a card.
The five designs
Here are the five graphics I generated. Right-click and copy any of them straight into XCS:
xTool Creative Space setup
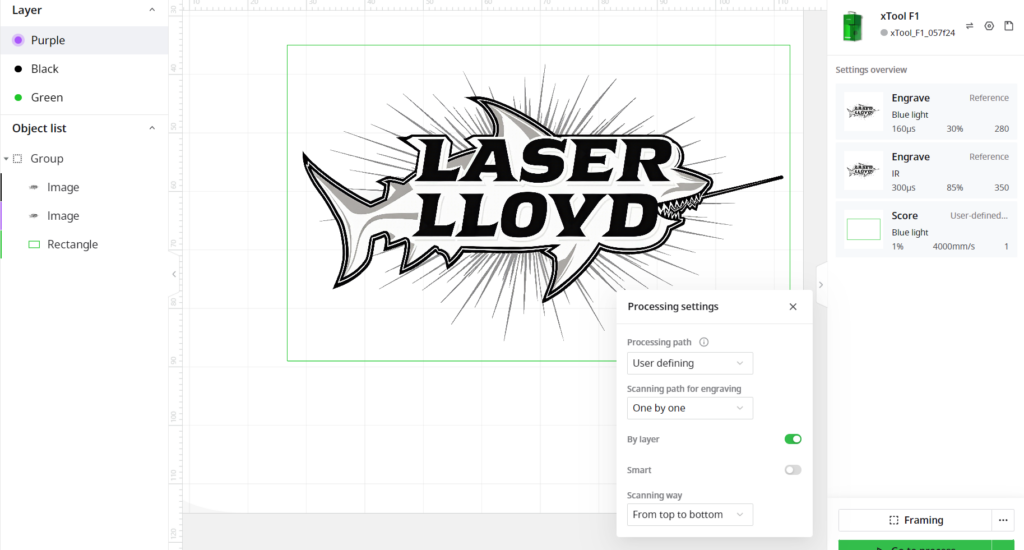
I set up two cards in XCS — one black, one blue. Both use the same trick: a two-layer design where both layers are the exact same image, run blue light first and IR second.
Black card:
- Two-layer design, both layers the same image
- Top layer: blue light, xTool's reference settings for the material
- Bottom layer: the same settings, but IR
- Set processing to run by layer, top to bottom, so the blue light finishes before the IR starts
Blue card:
- Two-layer design, both layers the same image
- Top layer: blue light — use more power than the xTool reference here; the reference power wasn't enough on this card
- Bottom layer: IR
- Same rule: process by layer, top to bottom, blue light before IR
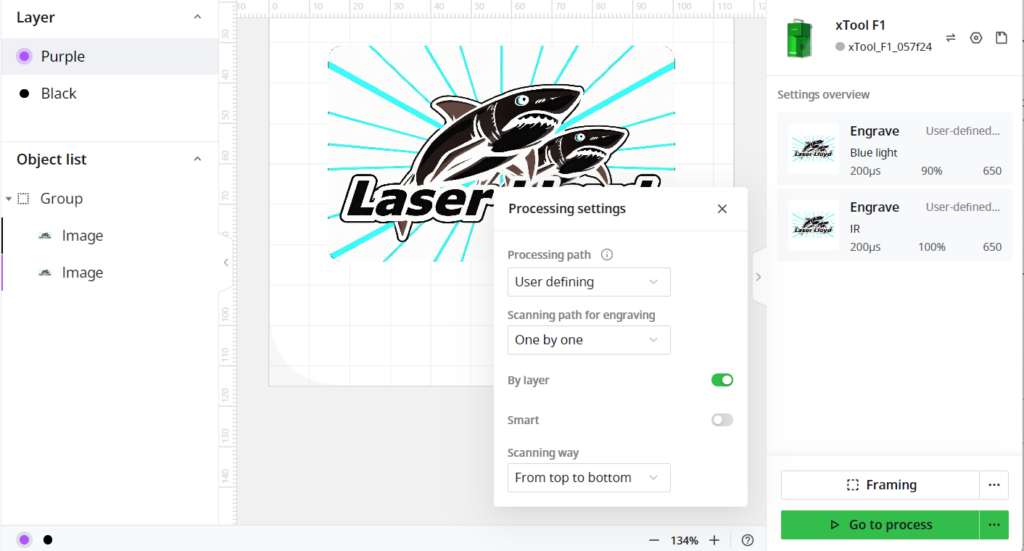
Yes, the screenshots show my shark logo — they're from my own business-card run. Same two-layer setup, different art.
Settings
The F1 has a 10 W blue laser and a 2 W IR laser. These are the settings that worked on these cards:
Black card
- Layer 1, blue light: dot duration 160 µs, power 30%, 280 DPI, 1 pass, bitmap mode Jarvis, bi-directional engraving
- Layer 2, IR: dot duration 300 µs, power 85%, 350 DPI, 1 pass, Jarvis, bi-directional
Blue card
- Layer 1, blue light: dot duration 200 µs, power 90%, 650 DPI, 1 pass, Jarvis, bi-directional
- Layer 2, IR: dot duration 200 µs, power 100%, 650 DPI, 1 pass, Jarvis, bi-directional
No beauty shots of the finished cards, I'm afraid — I never photographed them before this site went into hibernation. The proof is in the settings. If you want every recorded setting for these blanks in one place, I collected them on the material settings and calibration page, and the nametag placard and business-card holder is built to display one of these same cards instead of just handing it out.
Cost and time
| Item | Use | Cost (USD) |
|---|---|---|
| Aluminum card | 2 (ea) | $0.32 |
| Total | $0.32 |
| Step | Time (min) |
|---|---|
| Design: card graphic (optional) | 20 |
| Engrave: black aluminum card | 2.5 |
| Engrave: blue aluminum card | 14.5 |
| Total | 37 |
Files
The original plan here was downloadable project files — free for personal use, a dollar in the tip jar for commercial use. Honest update: the files never made it off the shop computer, and the laser projects here are archived rather than active. You don't really need them, though. The five graphics above are right-click-copyable and the full laser settings are listed. If this saved you some trial and error, the donate button in the footer genuinely works. More laser builds like this one live in the lasers section.
Related: Black Aluminum Business Cards, Material Settings and Calibration, Nametag Placard + Business Card Holder, Wood Engraving: Fire Bear.