Nametag Placard + Business Card Holder
- Category
- Laser Projects
- Posted
- March 24, 2025
- Updated
- September 16, 2026
- By
- Jacob Lloyd — written with AI assistance, post-project
- Read time
- 7 min read
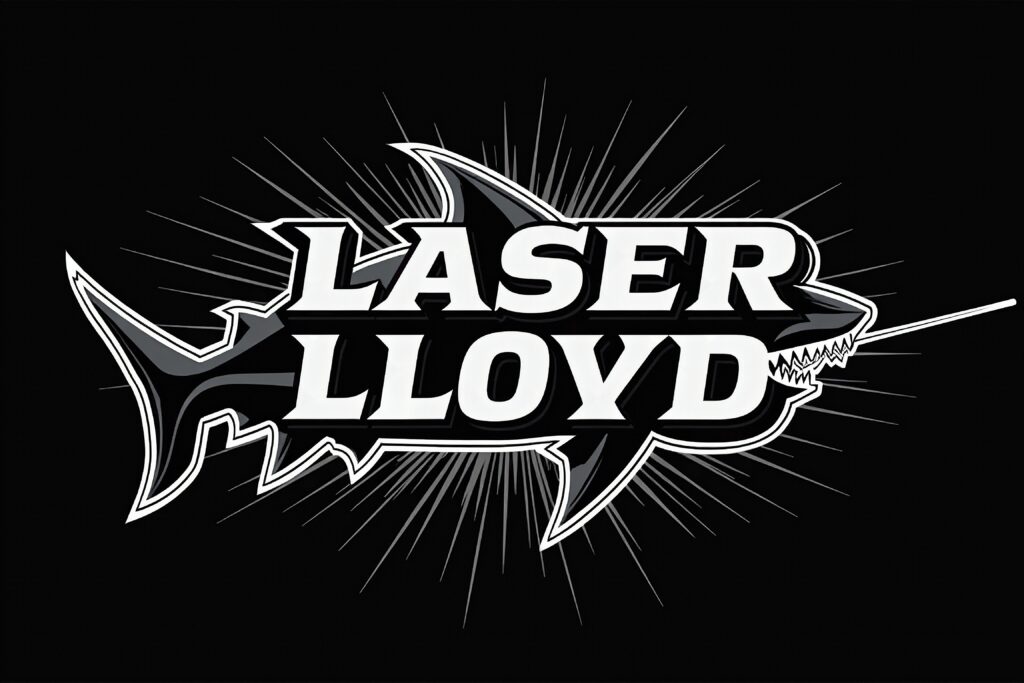
In plain terms: A small desk stand, cut from acrylic with a laser, that displays a metal business card or nametag. The card clips in and swaps out in seconds, so one stand works for every card you make. Total cost is about two dollars in materials and half an hour of machine time.
A 3 mm acrylic desk placard that holds a laser-engraved aluminum business card. The card clips in, lifts clear, and swaps out in seconds — about two bucks in materials and half an hour of laser time on an xTool F1.
tl;dr
- What it is: a three-piece acrylic stand with clip slots that displays a business card or nametag on your desk.
- What it costs: about $2 in materials (acrylic, two aluminum cards, glue).
- What you need: an xTool F1 or any laser that cuts 3 mm acrylic and engraves anodized aluminum, plus xTool Creative Space.
- What you end up with: a placard where the card lifts out of the clips — no tools, no fuss — so one stand serves every card you engrave.
Fair warning up front: I never photographed the finished placard before this site went into hibernation, so there's no glamour gallery. What you do get is everything needed to build it — the card artwork, the exact cut layouts, the settings, and honest math on cost and time.
The blanks that clip into this stand are the same ones from my black aluminum business cards and Man Card projects, and they use the same two-layer engrave trick both times.
Tools
- xTool F1 — 10 W blue diode laser plus 2 W IR laser. (xTool's old F1 product page is dead, so no link. Any machine that cuts 3 mm acrylic and engraves anodized aluminum will do the job.)
Materials
- Aluminum business card blanks — the anodized 0.21 mm kind sold in 50-packs. $7.99 for 50; I engraved two here (one black, one blue), so $0.32.
- 3 mm black acrylic sheet — $13.95 for a 12" × 24" sheet; this project uses about 17 square inches, so $0.83.
- Instant glue — Gorilla Clear Grip waterproof contact adhesive. $17.94 for three 3 oz tubes, roughly 20 uses per tube: about $0.30 for this project.
- Slow-cure strong glue — Gorilla Clear Glue. $9.94 for 5.75 oz, about 20 uses per bottle: $0.50 here.
Amazon affiliate links used to live in this list. The affiliate account is dead, so now you get plain product names and honest math instead.
Software
- Laser setup: xTool Creative Space
- Image generation (optional): getimg.ai
Making the card graphic (optional)
Already have a graphic? Skip ahead to the Creative Space layout. Otherwise, here's how I generate mine.
How to make digital art (click to expand)
Making art: if you're an artist I suppose you could draw the logo, or design it digitally, or whatever you artists do. I can't draw. For this project the design comes out of a generative AI model (Stable Diffusion).
Pro tip: I use getimg.ai, but any AI image generator works. I'm not sponsored by or affiliated with getimg.ai — it's just what I use.
Expand for full directions on generating art
Heads up: the screenshots below are from my bear-placard project. Same workflow, different animal.
- Log into your generator of choice and open the generation page.
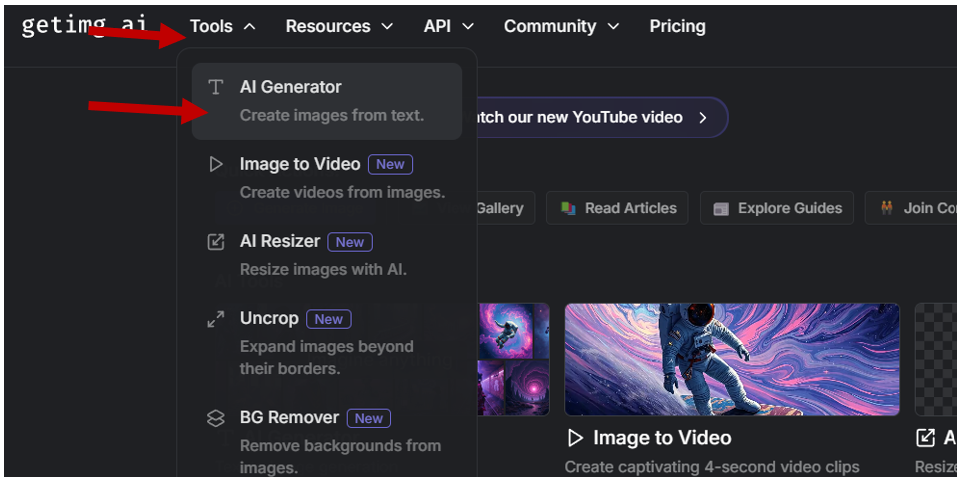
- Type in what you want an image of. Below is where I landed after about a dozen refinements.
Mode: Text to Image generation
Generation type: SD
Prompt (what we want in the image):
(a fire fighter, fire fighter badge. fire axe. no background.), woman bear, cute. geometric. A stylized logo featuring a bear (fire fighter), designed in a geometric art style. The bear should be depicted in a dynamic pose, with sharp, angular lines that emphasize its fierce expression. The shark mouth should be exaggerated, showcasing sharp teeth and a playful yet intimidating vibe. Use a limited color palette with bold contrasts, incorporating shades of blue, gray, and earthy tones. The background should be minimalistic, focusing on the geometric elements and the unique animal combination.
Negative prompt (what we don't want in the image):
Disfigured, cartoon, blurry, nude, background, weapon
Number of images: start with two until you get close to what you want, then go up to 10
Steps: 25
Guidance scale: 9
Sampler: LMS Karras
Change whatever you want in these settings to get the image you're after.
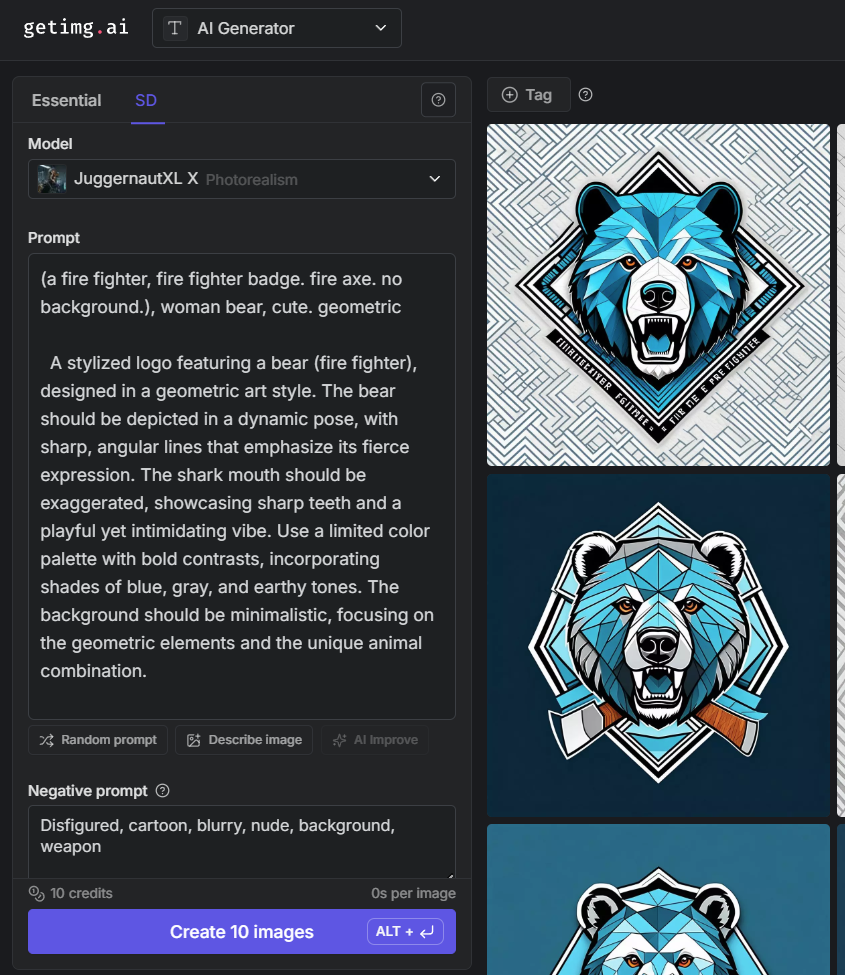
Generate and iterate — prompt and settings both — until you're happy with the result. For me that typically takes about 100 images.
Step 3: once you find an image you like, upscale it if you can, then download it.
Pro tip: upscale images before using them. It refines the details and makes manipulations like tracing smoother and higher quality. Plenty of services can do it, including getimg.ai.
To upscale in getimg.ai:
- Hover your mouse over the image
- Click the "three dots" on the top right that come up
- Click "Upscale 4x" in the menu
- Download the upscaled image (format doesn't matter)
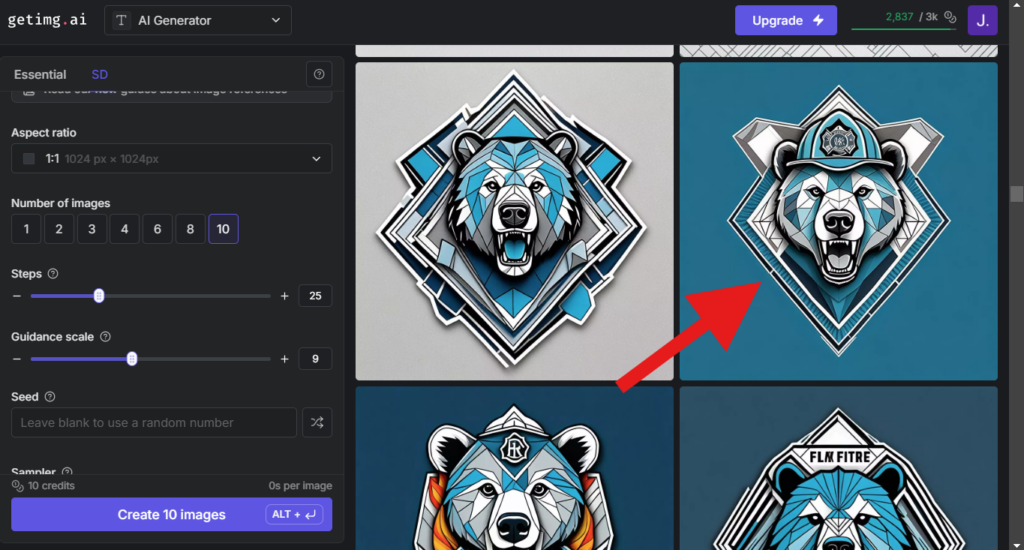
Step outcome: an image in your downloads folder that you want on the card.
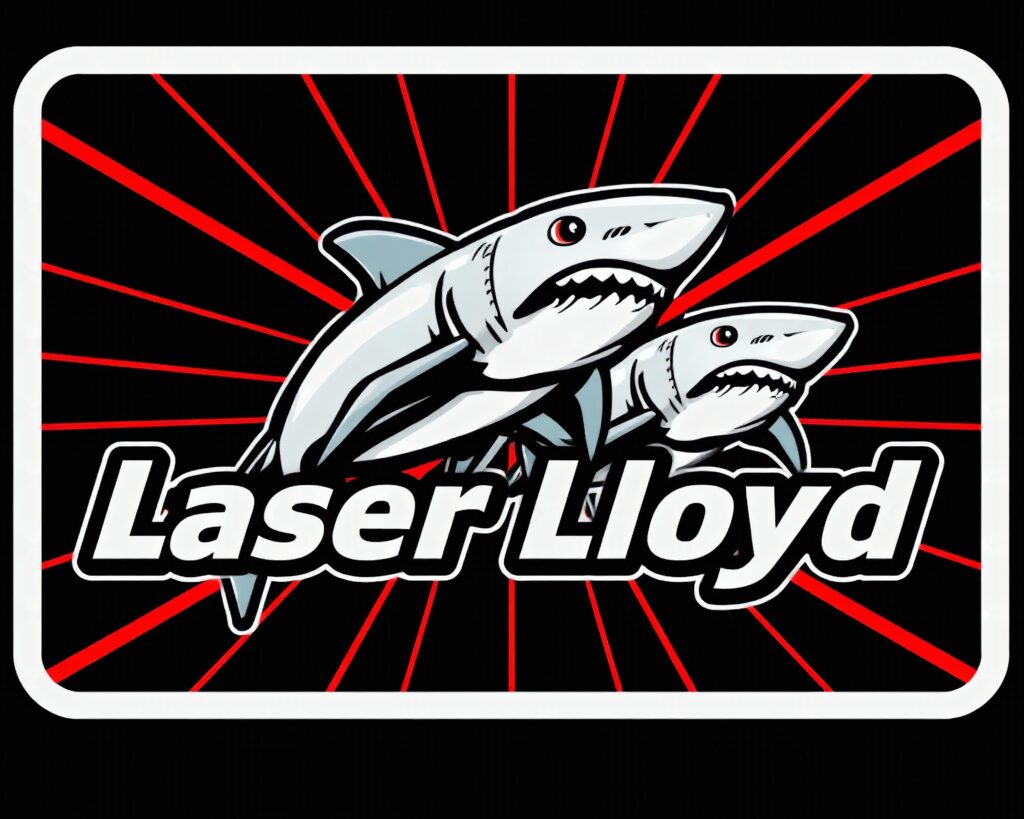
The two graphics I used for this project:
Layout in xTool Creative Space
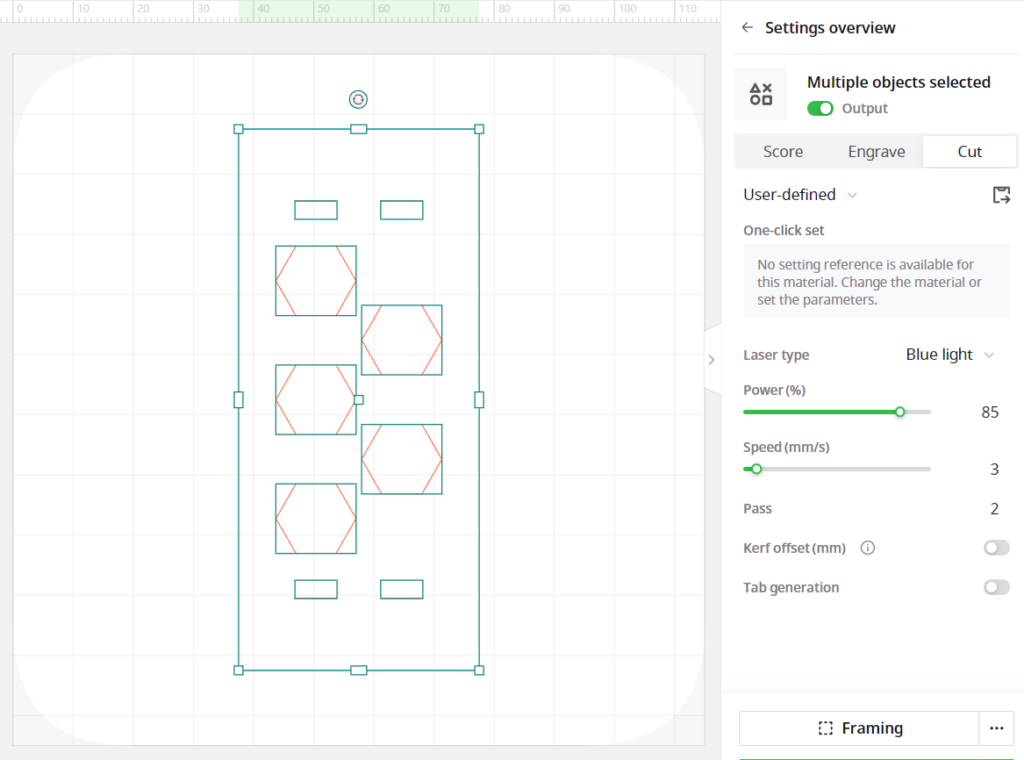
The placard is three flat parts plus the card artwork. Set up each of these in Creative Space:
Baseplate
Supports the whole design and holds the side pieces.
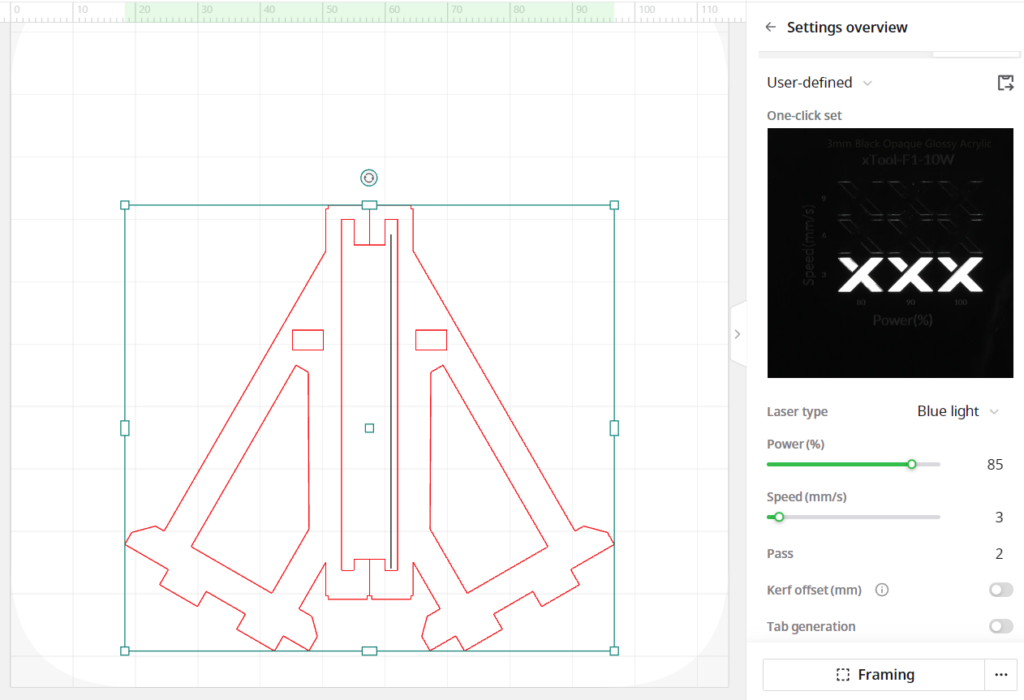
Side pieces
These stand on the baseplate and grip the business card or nametag. Each has clips that hold the card in place, with extra space in the top clip so the card can be lifted clear of the bottom clip and pulled out.
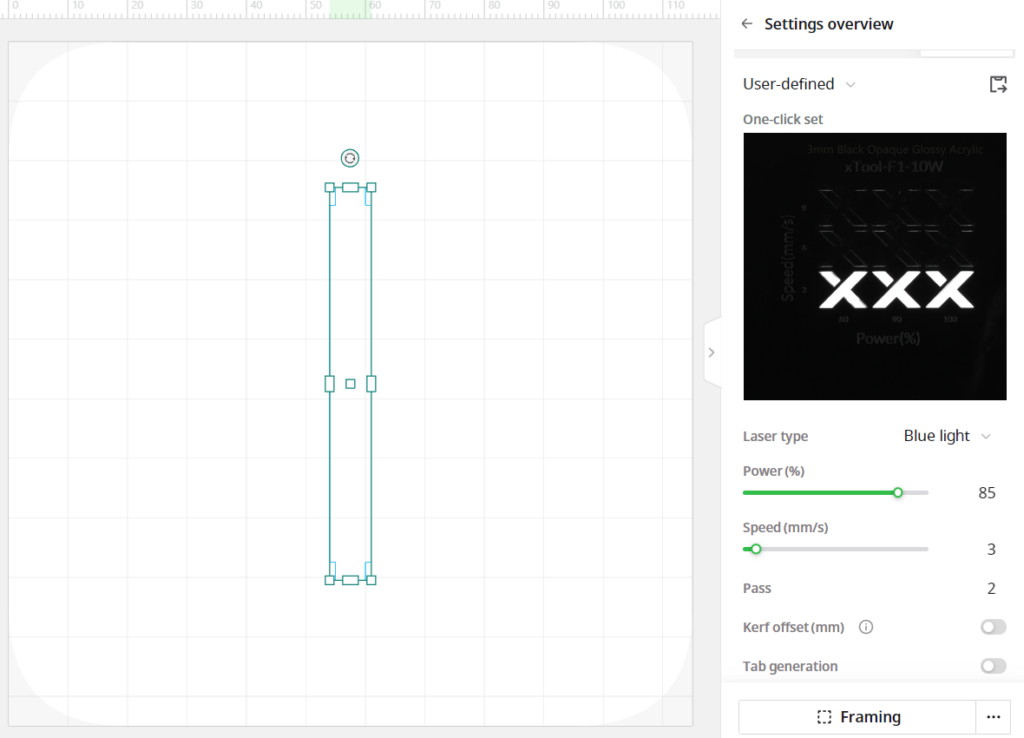
Brace
Glued between the side pieces and installed horizontally to keep the stand rigid.
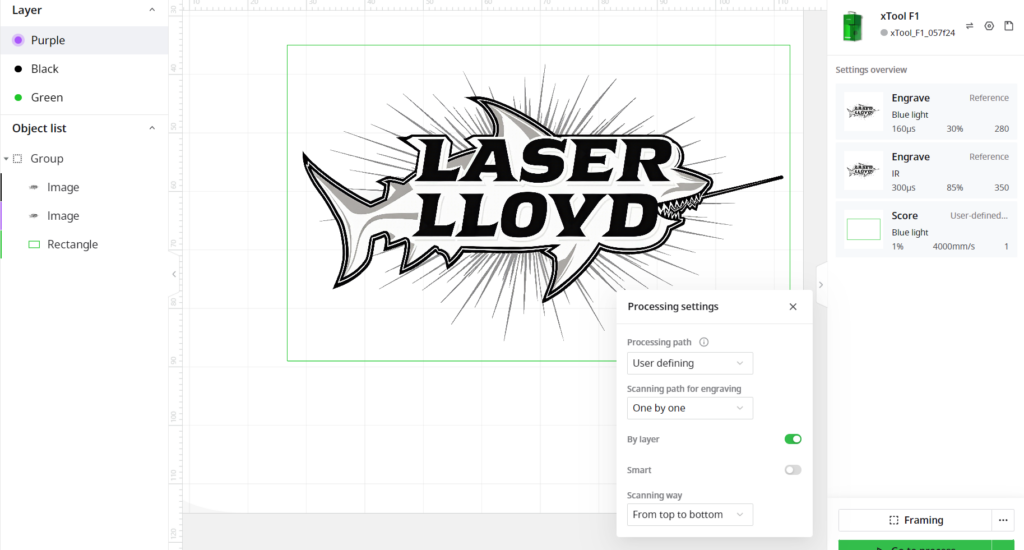
Black business card
Use a two-layer design — both layers are the same image. Top layer: blue light at the xTool reference settings. Bottom layer: the same, but IR. Set processing to run by layer, top to bottom, so the blue-light pass finishes before the IR pass.
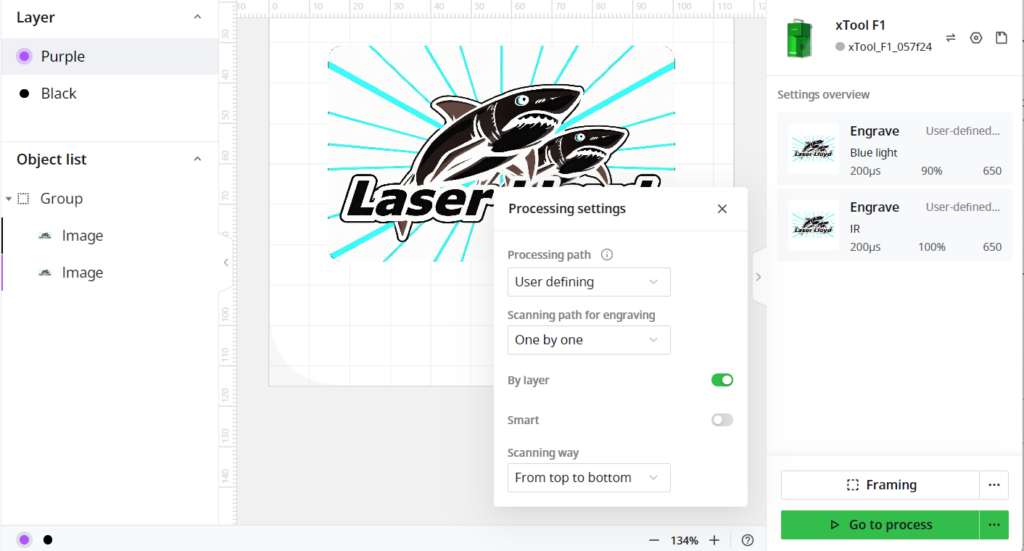
Blue business card
Same two-layer setup. Top layer: blue light, but run more power than the xTool reference — the reference power wasn't enough on this card. Bottom layer: IR. Again, process by layer, top to bottom.
Laser settings
The xTool F1 has a 10 W blue laser and a 2 W IR laser. Here's what worked on these materials:
- Cut 3 mm black acrylic: blue light, power 85, speed 3 mm/s, 2 passes
- Engrave the black business card:
- Layer 1: blue light, dot duration 160, power 30, DPI 280, 1 pass, bitmap mode Jarvis, bi-directional
- Layer 2: IR, dot duration 300, power 85, DPI 350, 1 pass, bitmap mode Jarvis, bi-directional
- Engrave the blue business card:
- Layer 1: blue light, dot duration 200, power 90, DPI 650, 1 pass, bitmap mode Jarvis, bi-directional
- Layer 2: IR, dot duration 200, power 100, DPI 650, 1 pass, bitmap mode Jarvis, bi-directional
Assembly
- Set the baseplate on your work surface.
- Tack the side pieces on with the quick-set glue.
- Tack the structural brace between the side pieces.
- Follow up with the slow-cure glue for real strength, then let it dry.
Pro tips: use something with a true 90° corner to make sure the side pieces sit square and parallel to the baseplate — a business card works fine (no, it's not square, but its corners are). And apply the glue where it won't be seen, like the insides of the side-piece-to-baseplate joints.
Completed gallery
Seven glamour shots were planned here — iso view, front, side, back, top, and two with a card clipped in. I built the placard and used it, but the photos never made it off my phone before I stopped updating the site. The Creative Space screenshots above show every part accurately; picture them in glossy black acrylic and you're most of the way there.
Cost and time
Material cost
| Item | Use | Cost (USD) |
|---|---|---|
| Aluminum cards | 2 (ea) | 0.32 |
| Black acrylic | ~17 in² | 0.83 |
| Quick-set glue | 1/20 tube | 0.30 |
| Slow-cure glue | 1/20 bottle | 0.50 |
| Total | $1.95 |
(The original draft said $2.09, but the glue numbers never added up. This is the corrected math — call it two bucks.)
Time to produce
| Item | Time (min) |
|---|---|
| Design: card logo (optional) | 20 |
| Cut: side pieces | 7.5 |
| Cut: baseplate | 6.5 |
| Cut: brace | 2 |
| Engrave: black aluminum card | 2.5 |
| Engrave: blue aluminum card | 14.5 |
| Total | 53 |
Files
The plan was free downloadable cut files here, with a $1 donation ask for commercial use. Honestly: they never got uploaded, and the laser side of this site is on ice, so I won't pretend a download button is coming. All three parts are simple shapes you can redraw from the Creative Space screenshots above. If you genuinely want the original files, email me and I'll go digging. More laser builds are in the lasers section.
Related: Material Settings and Calibration — where the power and speed numbers above come from — plus Black Aluminum Business Cards, Man Card: 5 AI Designs Engraved on Aluminum (xTool F1), and Wood Engraving: Fire Bear.